
How to wire a light switch
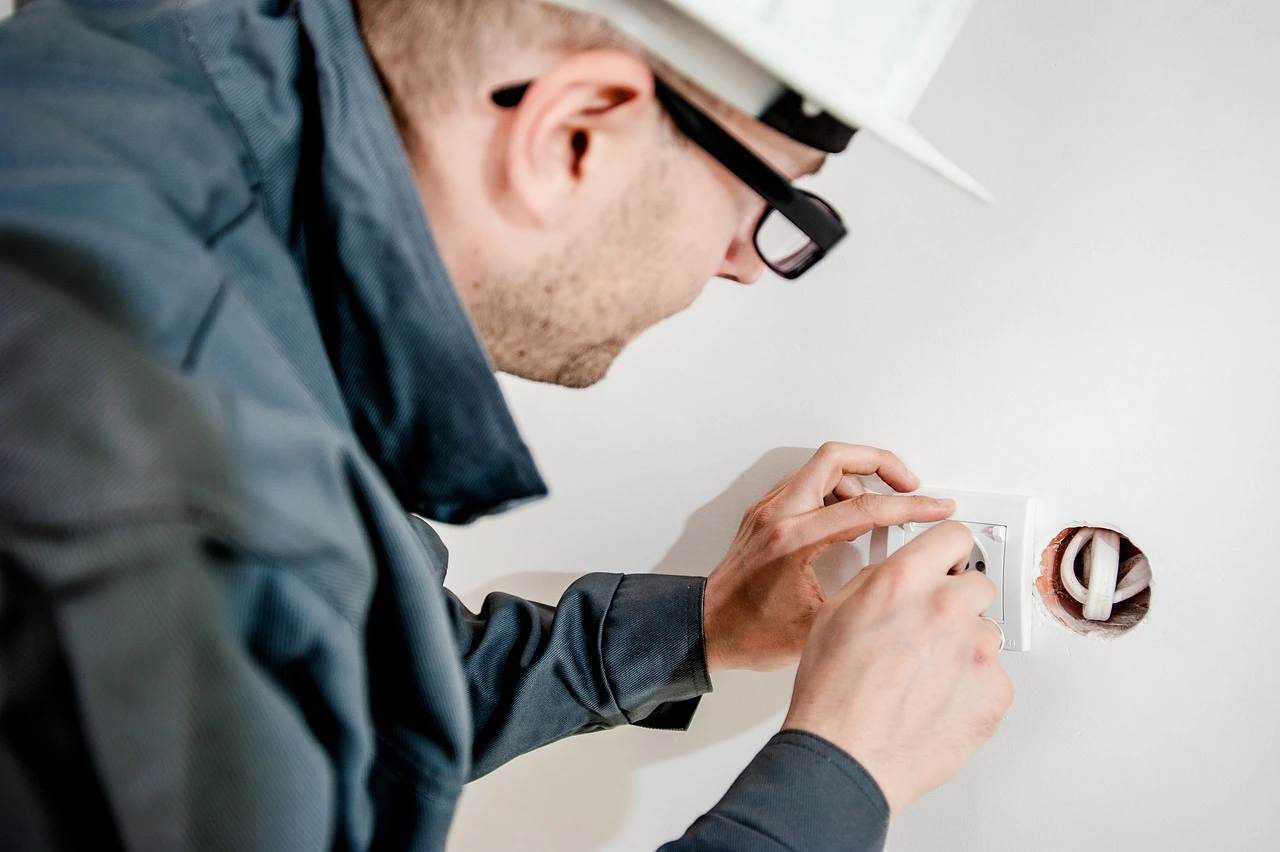 Although it’s easy to wire a light switch, you need a basic understanding of how electricity works in the home to get the job done safely. If you’ve never worked with wires before, you should hire an electrician and ask them if you can watch them work, so you can learn how to properly wire a light switch. Once you learn, it won’t take more than 10 minutes to wire a light switch. No special tools are required, and the steps are the same whether you’re replacing a damaged switch or installing a dimmer.
Safety precautions when wiring light switches
When it comes to wiring at home, the best rule of thumb is that if you don’t feel comfortable working with electrical wiring, just don’t do it. If you take the proper precautions, replacing a light switch is generally safe and low-risk because you’re handling wires that have already been professionally installed. However, DIY-ers should not attempt to run new wires themselves – that’s a job for an electrician.
Wiring a single-pole light switch
Tired of your almond-colored toggle switches and want to replace them with more modern screwless wall plates and rocker switches? This is a simple task for a DIYer, provided you work carefully and follow basic safety protocols.
Disconnect the power source
It’s important to do this first step correctly. If you skip this part or do it incorrectly, it can be deadly.
Before you do anything else, make sure the circuit you are working on is de-energized. This means going to the breaker box and turning off the breaker that controls the breaker you are replacing.
To be safe, test the breaker to make sure it no longer turns on the light. Sometimes breakers are mislabeled, so check this before moving on to the next step.
Remove the old light switch
Once you’ve made sure the breaker is de-energized, unscrew the breaker plate (most breakers are attached with two small flathead screws) and then unscrew the old breaker from the wall (flathead and Phillips screws are equally common here). Carefully pull the old switch out, but leave the wires connected for now.
Identify the connecting and grounding wires
Pay attention to the arrangement of the wires
You should see two black wires, each connected to a different screw on the side of the switch. These are what are called terminal screws.
You will also see two white (neutral) wires connected together inside the housing. The connection should be covered with a cap nut.
Disconnect the terminal and ground wires
Also disconnect the ground wire. You should now be able to remove the switch from the wall. If it makes your job easier, you can bend the dangling wires out of the way.
Call the Emergency Electrician in Manchester. After your call, our Customer Service sends to you the best electrician in the area. Besides that, we are 24 hours available. Call us whenever you want, 01613941078.